
A backyard batting cage sounds like a luxury, but it does not have to cost thousands of dollars. If you have the space and a weekend to spare, you can build a functional cage that lets you or your kids take cuts anytime without driving to a batting facility. The key is knowing where to spend and where to save, because some components matter more than others.
I built a batting cage in my backyard for under $500, and it has held up through two full seasons of regular use.
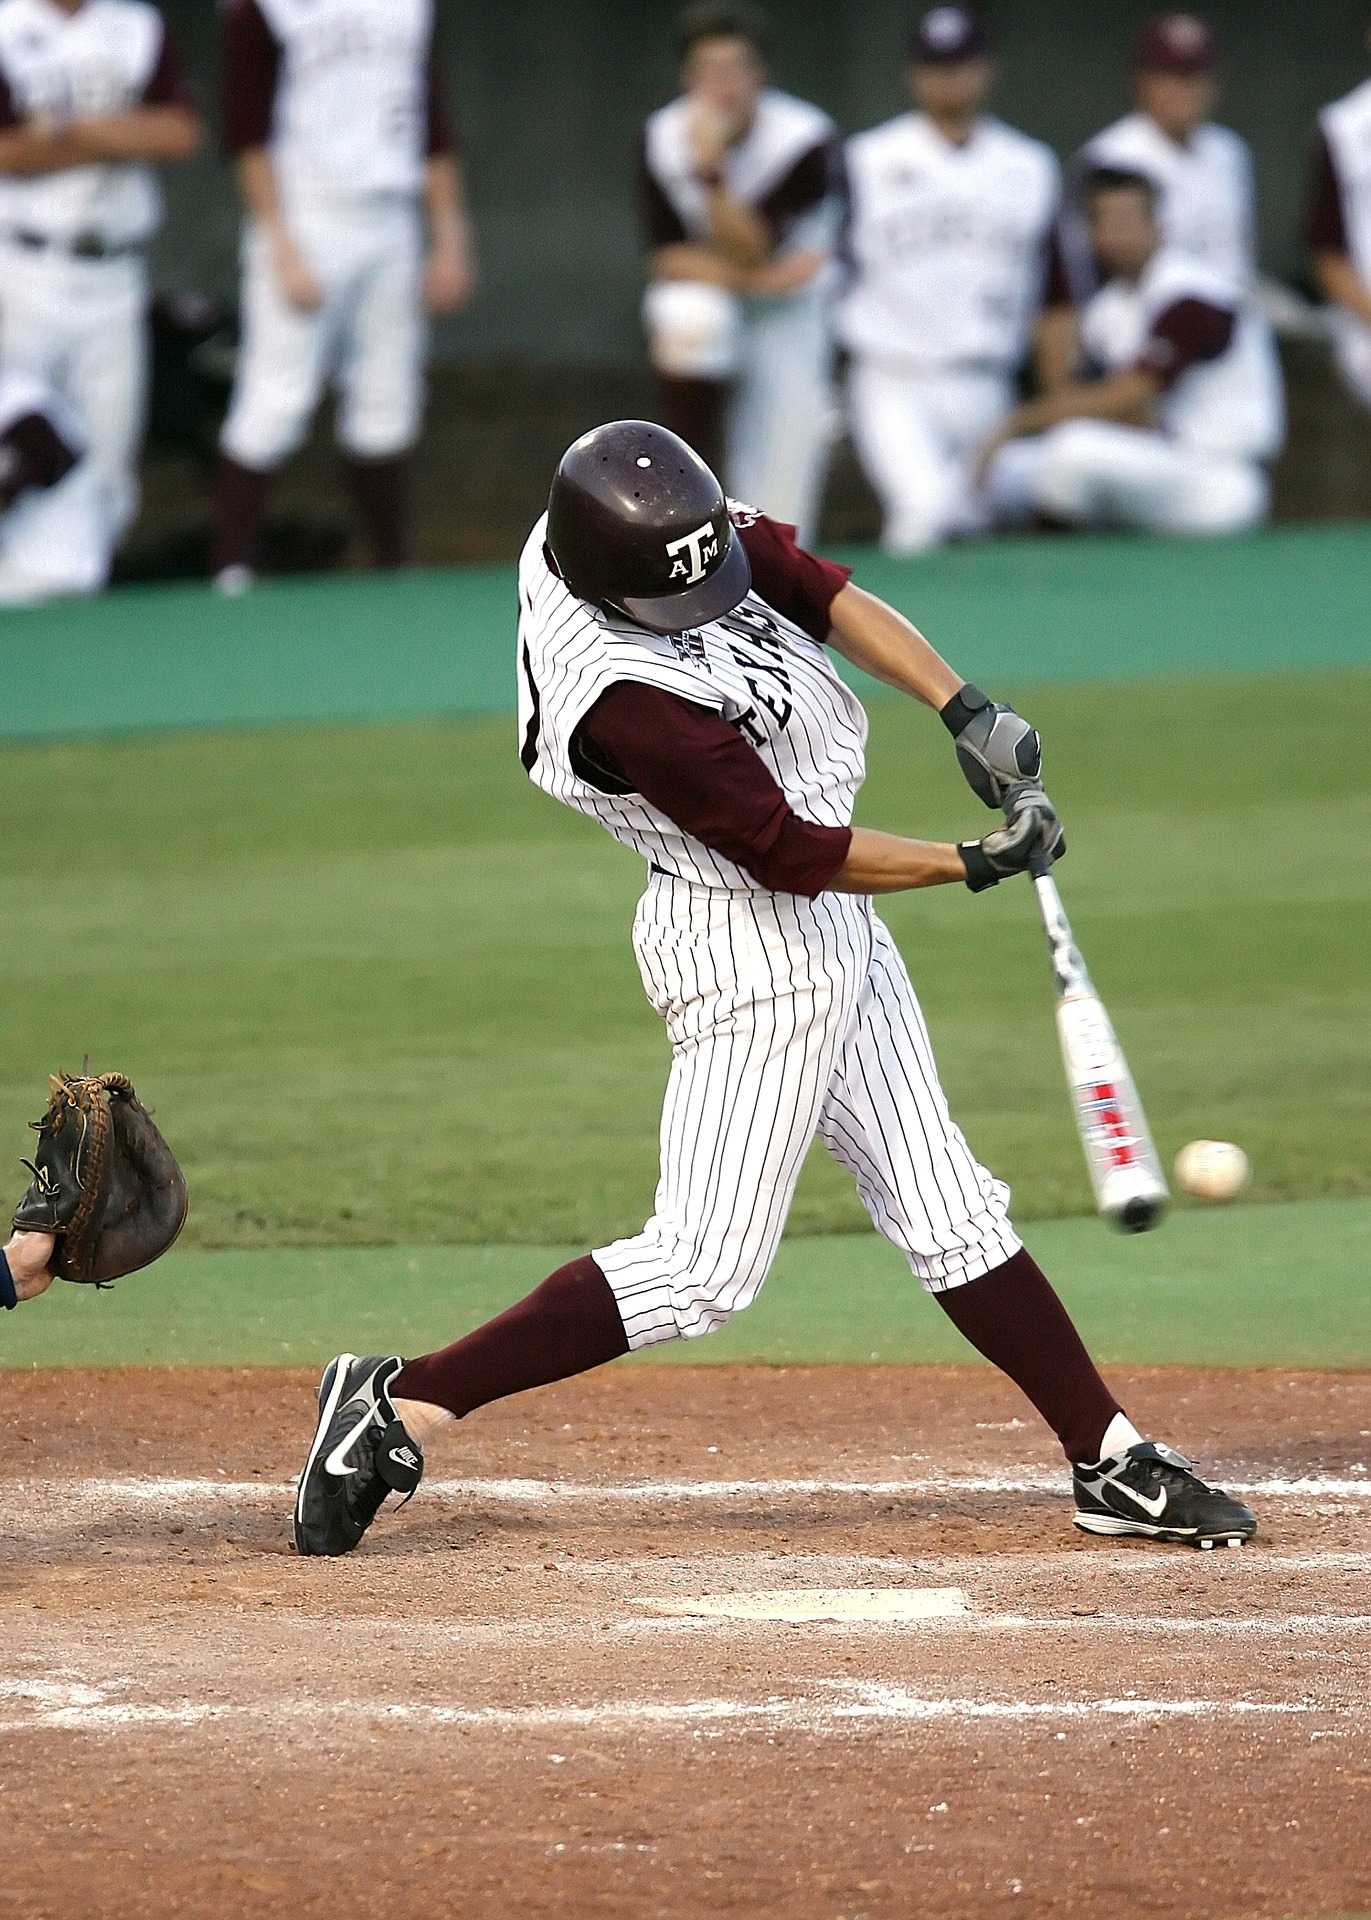
setting up a camera in your cage for swing analysis — A backyard cage is a natural environment for filming swings, and readers who just built one would benefit from knowing the optimal camera placement and angles for useful footage..
Here is exactly how to do it.
Space Requirements
You need a minimum of 70 feet in length, 14 feet in width, and 12 feet in height for a cage that accommodates full swings from both righties and lefties. If you are building for younger players, you can get away with 55 feet in length, but go with the full 70 if space allows. You will want it eventually.
The cage should be on level ground.
A slight slope is workable, but anything more than a gentle grade makes the netting hang unevenly and creates an annoying ground gap where balls escape. If your yard has a slope, pick the flattest section. Grass is the ideal surface, but packed dirt works too. Avoid placing the cage over concrete or gravel, as balls hit off those surfaces become projectiles that stress the netting.
Check your local building codes and HOA rules before you start.
Most residential batting cages do not require a permit because they are temporary structures, but rules vary by location. A quick call to your local building department saves you from having to tear down a cage you just finished.
The Frame: PVC vs Metal
The frame is the structural skeleton that holds the netting. You have two main options: PVC pipe or galvanized steel conduit. PVC is cheaper and easier to work with but less durable.
Steel conduit costs more but lasts indefinitely and handles wind without flexing.
For a budget build, 1.5-inch Schedule 40 PVC pipe is the sweet spot. It is rigid enough to hold netting, widely available at home improvement stores, and assembles with standard PVC fittings and cement. You will build a series of arched or rectangular frames spaced about ten feet apart along the length of the cage, then connect them with horizontal support pipes.
A basic rectangular frame design uses three-way and four-way PVC fittings at each corner. Build upright goals at 10-foot intervals, connect them across the top and sides with horizontal pipes, and you have a frame ready for netting. Total pipe cost for a 55-foot cage runs about $150 to $200 in PVC. A comparable steel frame would be $300 to $400 but would last much longer.
Choosing the Right Netting
Netting is where you should not cut corners.
Cheap netting tears, sags, and needs replacement within a season. Quality netting lasts years and keeps balls contained even on hard line drives. For a batting cage, you want knotted nylon or HDPE (high-density polyethylene) netting with a mesh size between 1.5 and 1.75 inches.
Twine thickness matters. Number 36 weight netting is the minimum for machine-pitch batting cages. For hand-toss or soft-toss only, number 21 weight works fine and costs less.
If you plan to use a pitching machine at any point, go with number 36 from the start so you do not have to replace the net later.
Buy netting sold specifically for batting cages, not general sports netting or bird netting. Batting cage netting is constructed with heavier seams and reinforced borders that hold up to repeated ball impacts. A 55-foot by 14-foot by 12-foot batting cage net costs between $100 and $250 depending on material and twine weight.
Assembling the Frame
Start by marking your frame positions on the ground.
Place stakes at 10-foot intervals along the length of the cage on both sides. At each stake, you will build an upright frame section that connects to the sections on either side.
If using PVC, dry-fit everything before cementing. This lets you check alignment and make adjustments without having to cut apart glued joints. Once you are satisfied with the fit, disassemble each joint, apply PVC cement, and reassemble.
Work in sections, starting from one end and progressing to the other.
Anchor the base of each upright to the ground using either rebar stakes driven into the ground and slid inside the PVC pipe, or ground anchors bolted to the frame. This is not optional. Wind will catch the netting and pull the frame over without proper anchoring, potentially damaging the cage or injuring someone.
Hanging the Netting
Drape the net over the frame and secure it using zip ties, hog rings, or cable ties at regular intervals along every frame member. Space your attachment points no more than 12 inches apart. Loose netting creates pockets that catch balls and put stress on the attachment points, which leads to tearing.
The netting should be taut but not drum-tight. A small amount of give allows the net to absorb ball impact without transferring all the force to the frame.
If the netting is too tight, every line drive will stress the frame connections. If it is too loose, balls will push through and create saggy pockets that are hard to fix.
At the bottom, stake or weight the netting to the ground so balls do not roll underneath. Landscape staples work well on grass. Sandbags or weighted pipes work on harder surfaces. A ground-level gap is the fastest way to lose balls to the rest of your yard.
Adding a Backstop
A heavy-duty backstop at the back of the cage catches balls that come through the hitting zone.
You can use a separate piece of heavier netting, a hanging vinyl tarp, or a commercial backstop net. The backstop takes the most abuse in the cage, so spend a few extra dollars on something that can handle daily impacts.
Position the backstop about five to eight feet behind where the batter stands. This gives you enough room that the batter does not feel crowded while still catching foul balls and passed pitches before they hit the back frame.
Total Cost Breakdown
Here is a realistic budget for a 55-foot PVC batting cage.
PVC pipe and fittings run about $150 to $200. Netting costs $100 to $250 depending on quality. Anchoring hardware and zip ties add about $30 to $50. A backstop net or tarp is another $40 to $80. Grand total: $320 to $580 depending on your choices.
Compare that to the $2,000 to $5,000 price tag on a pre-built commercial cage, and the savings are significant. The DIY version requires a weekend of labor and some basic tool skills, but the result is a fully functional batting cage that serves your family for years.
Maintenance Tips
Inspect the netting monthly for holes or thin spots, especially in the strike zone area where balls hit most frequently. Small tears can be repaired with netting repair twine before they grow into large holes. Replace zip ties that have become brittle from sun exposure. And if you live in an area with heavy snow, take the netting down for winter to prevent ice damage. The frame can stay up year-round as long as it is properly anchored.